1 SSO Upgradation
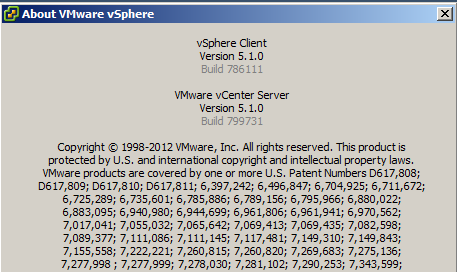
1.1 Current vCenter 5.1
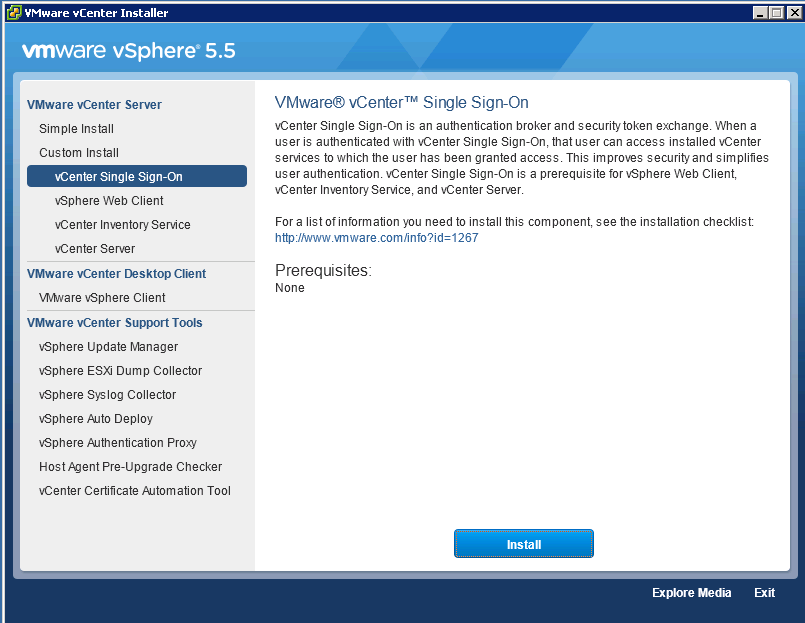
1.2 Go to vCenter Installer and Select vCenter SSO>Install
1.3 Certificate will pop-up. Select OK

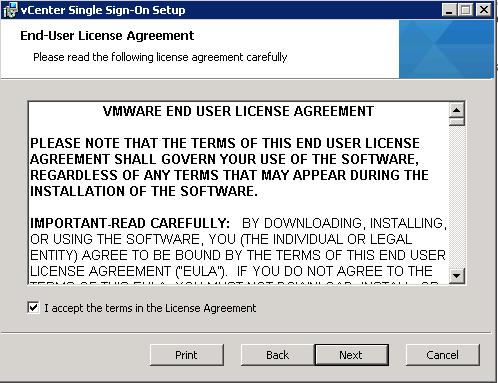
1.4 Accept the EULA
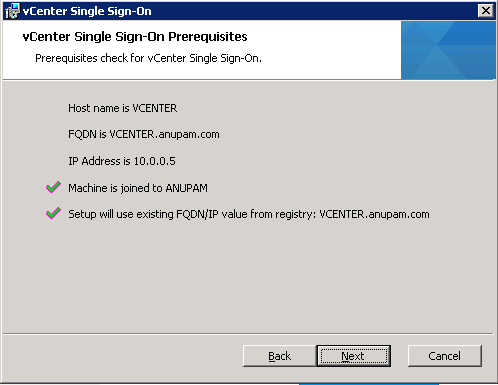
1.5 vCenter will check for the prerequisites.
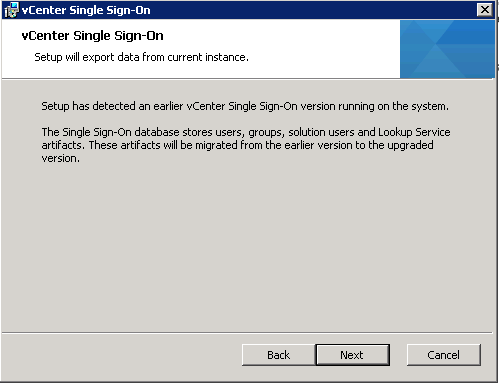
1.6 vCenter will recognize the current setup for upgrade. Select next.
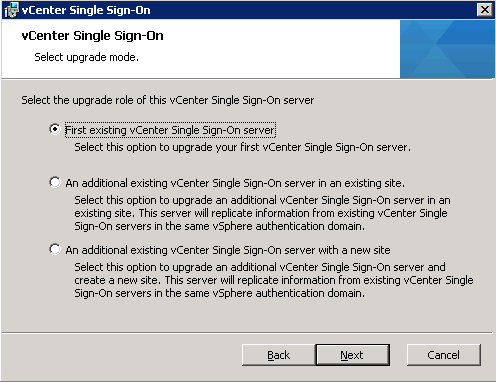
1.7 If the previous setup was the first instance then select First existing vCenter SSO
1.8 Provide the current vCenter password.

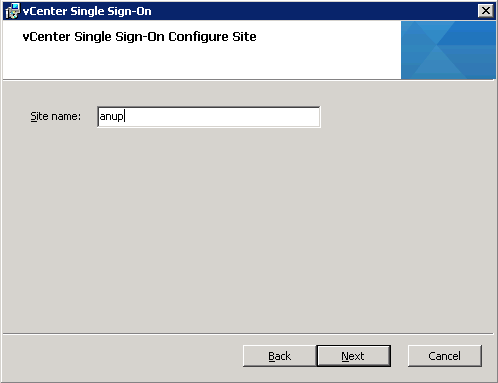
1.9 Give the site name.
1.10 If required change the path of the SSO installation path Directory.

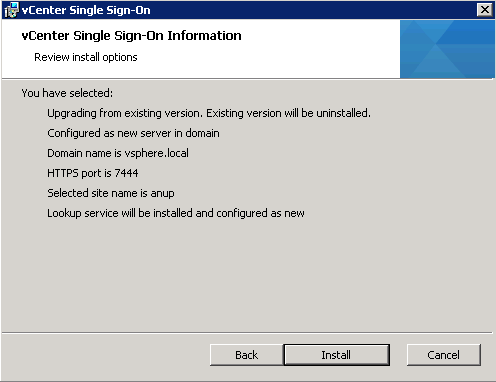
1.11 vCenter will review the installation options.
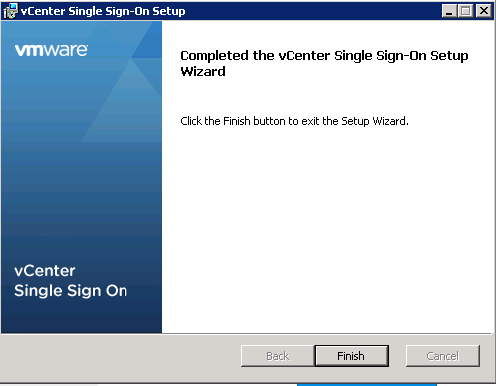
1.12 Once the installation is over, select finish.
2 Web services installation
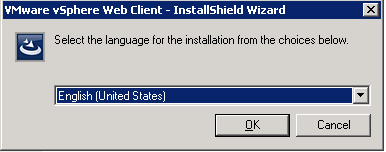
2.1 Go to vCenter Installer and Select vCenter SSO>Web Client
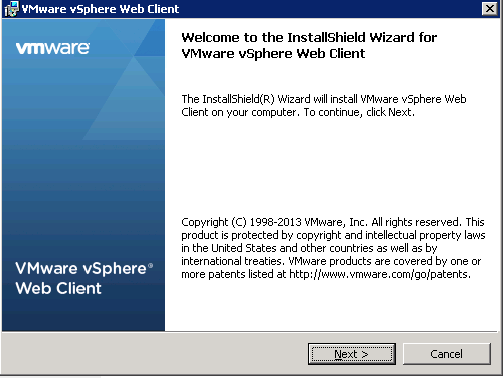
2.2 Select Next
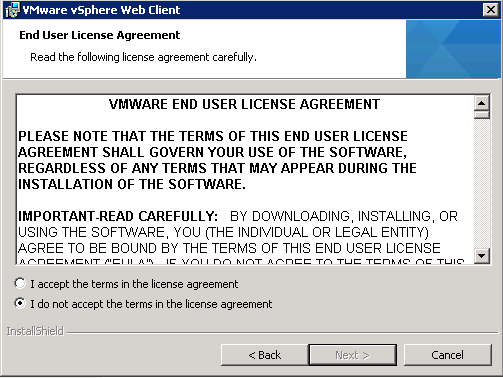
2.3 Accept EULA
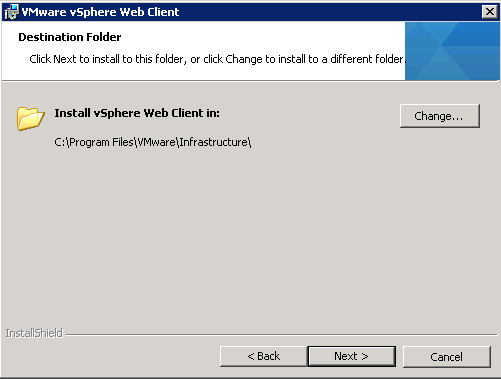
2.4. If required change the destination of the installation folder.
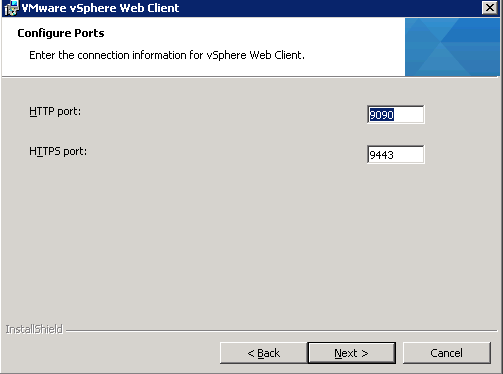
2.5 Check for the ports
2.6. Provide SSO Password>Next

2.7. Setp will pop-up for password
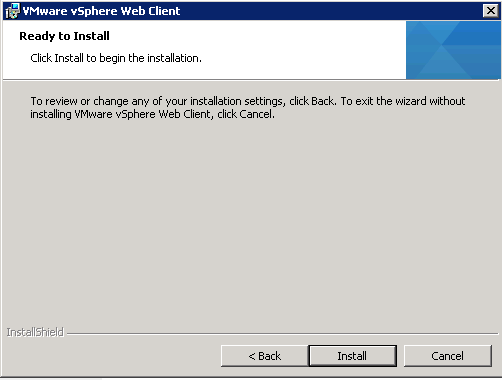
2.8. Select install for final setup.
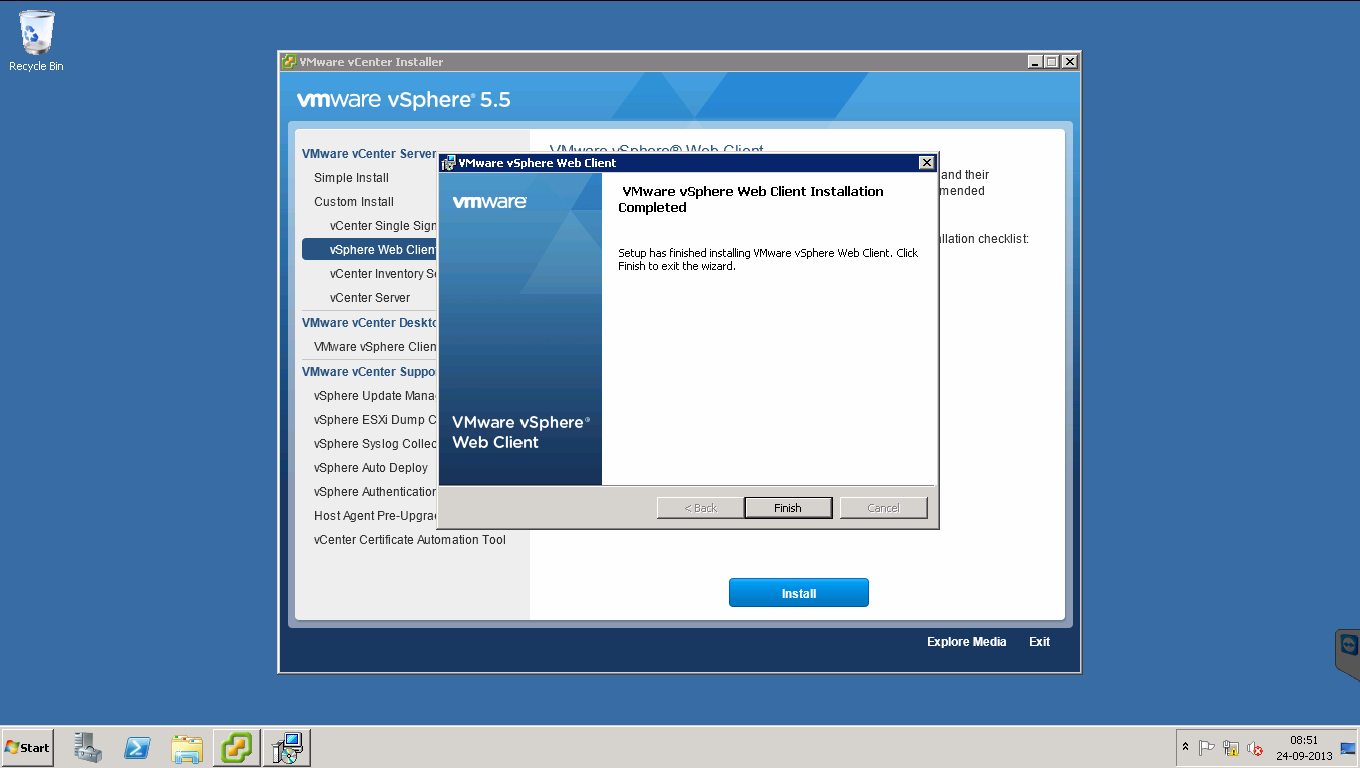
2.9. Select Finish to complete the setup. Now Web client can be accessed by https://<IP of Vcenter>:9443/vsphere-client
3 Inventory services Installation.
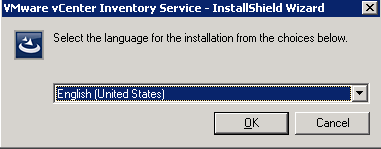
3.1 Selec the language
3 Inventory services installation.
3.1 Select the Language of installation

3.2 Installation in progress

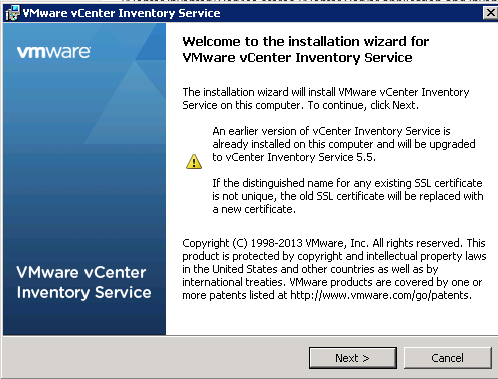
3.3 vCenter Inventory services setup will start with earlier version of vCenter already installed on this computer ans will be upgraded to vCenter Inventory services 5.5.
3.4 Accept EULA

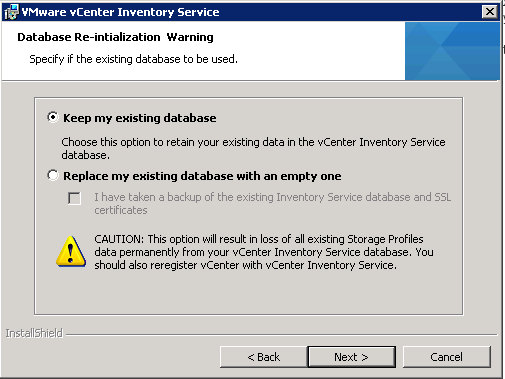
3.5 It will ask for the database. Select Keep my existing database.
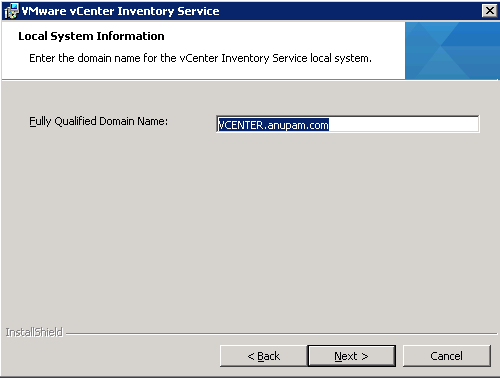
3.6. Verify the FQDN of the vCenter
3.7 Verify the ports

3.8 Select the inventory Size for JVM memory utilization.

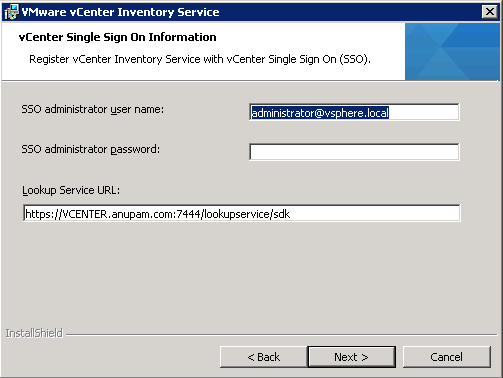
3.9 Provide the old vCenter SSO password.
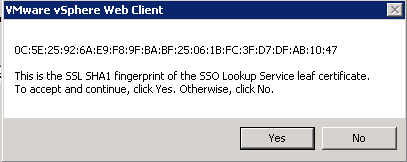
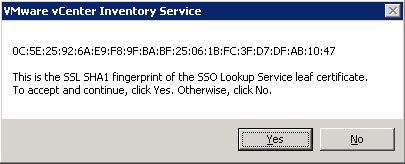
3.10 Pop-up will come for the certificate. Select yes.
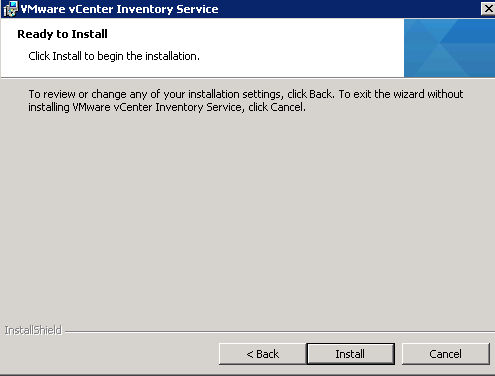
3.11 Select the install
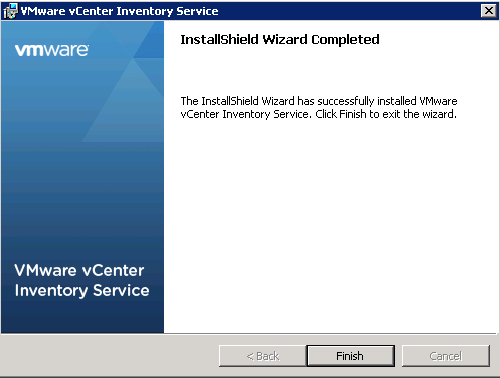
3.12. Once the setup is complete select finish.
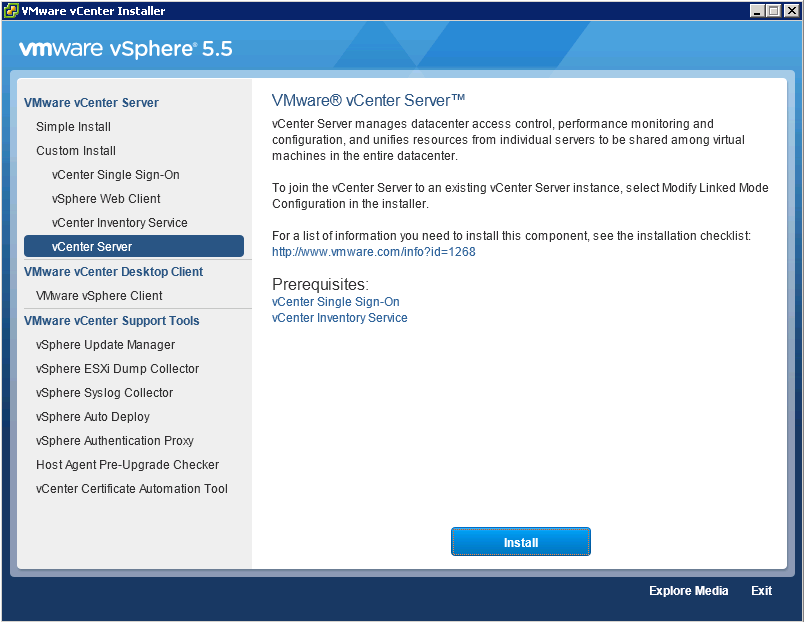
4 vCenter services Installation.
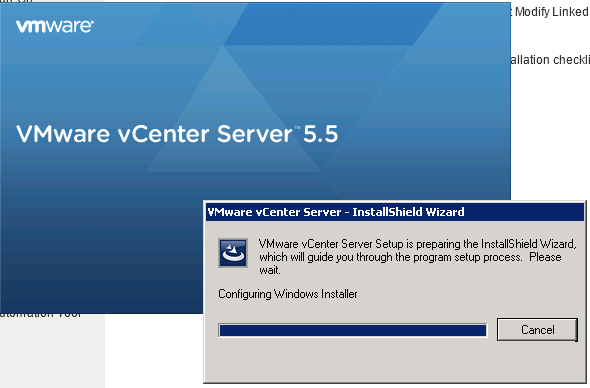
4.1 GO to vCenter Installation>Install
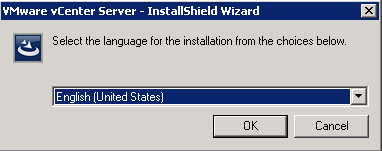
4.2 Select the Language
4.3 Initializing the setup
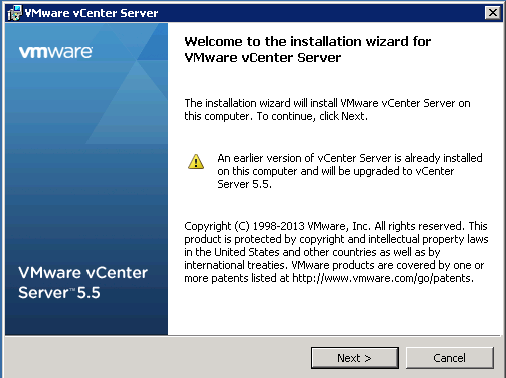
4.4 Vcenter setup will show for upgrade
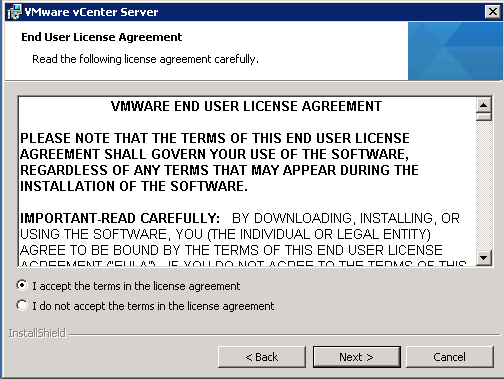
4.5 Accept the EULA
4.6 Provide the license Key for the vCenter
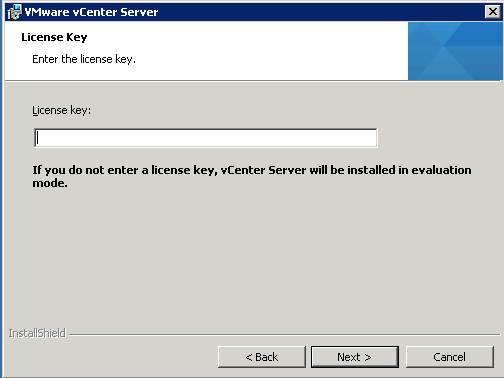
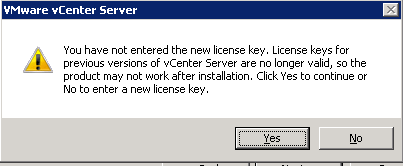
4.7. Pop-up for no license key.
4.8. Select Next as we are going to use the same database.
4.9 Since update Manager was installed it pop with warning.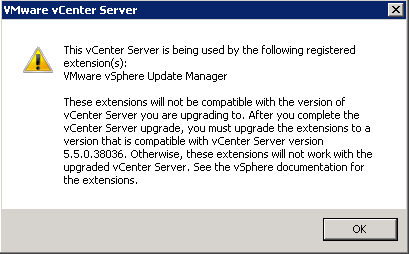
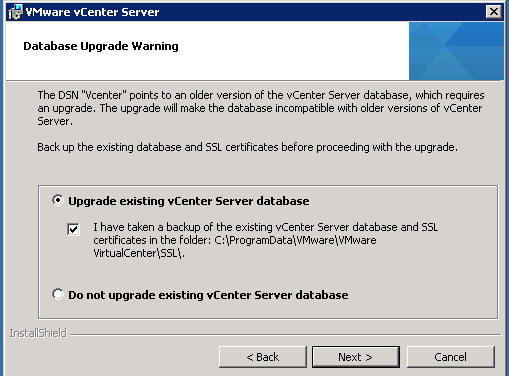
4.10 Select the upgrade existing database
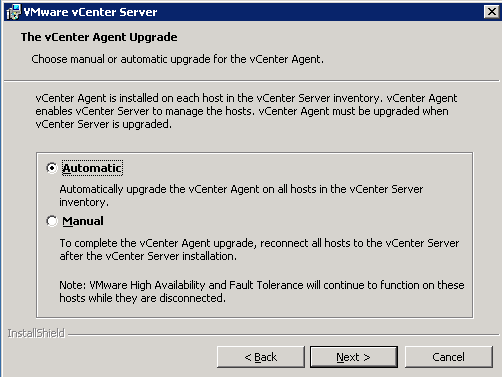
4.11 Select the vCenter Agent upgrade automatic
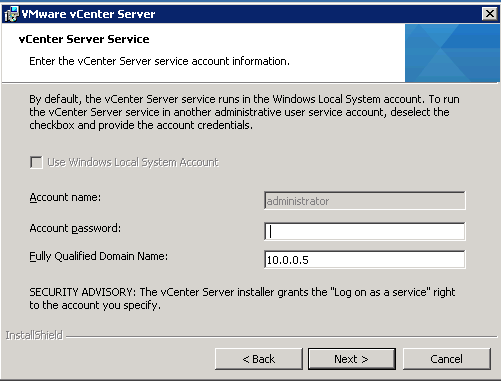
4.12 Provide the local account credentials
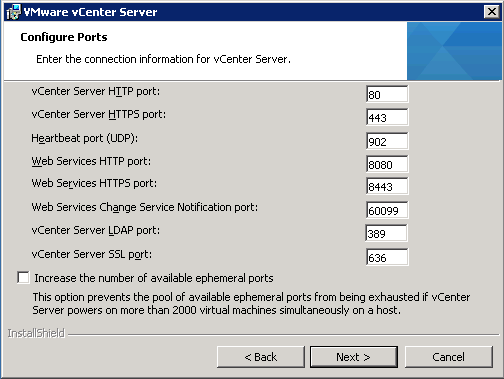
4.13 Check for the ports
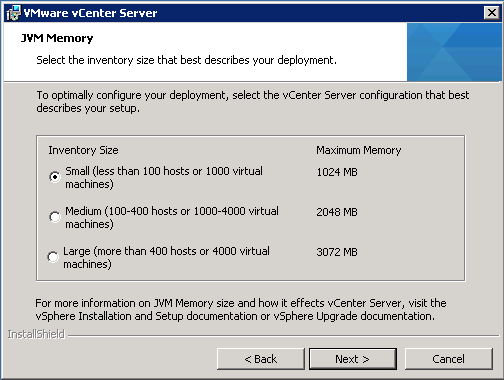
4.14 Select the Inventory size
4.15 Provide the SSO password

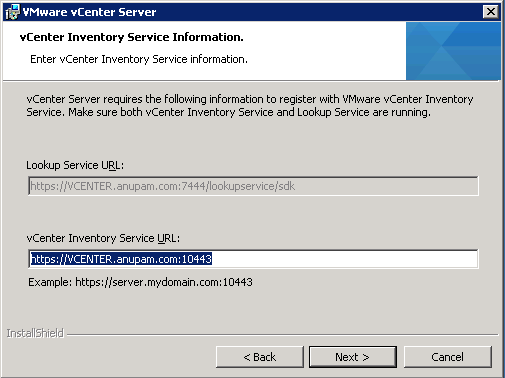
4.16 check for the Inventory services URL
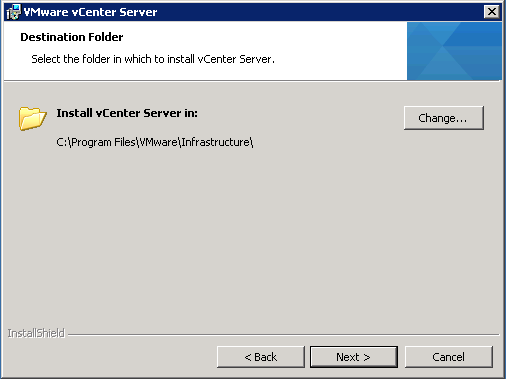
4.17 If required change the destination folder
4.18 Review and do the final install

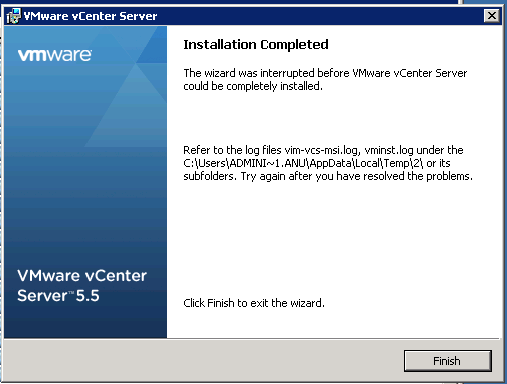
4.19 Once the setup is done select finish
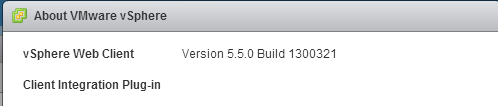
4.20. Now vCenter will show version as 5.5